Suncraft Early Game Builds Tier List
Ranked furnace layouts and carry priorities for the opening hour of village restoration.
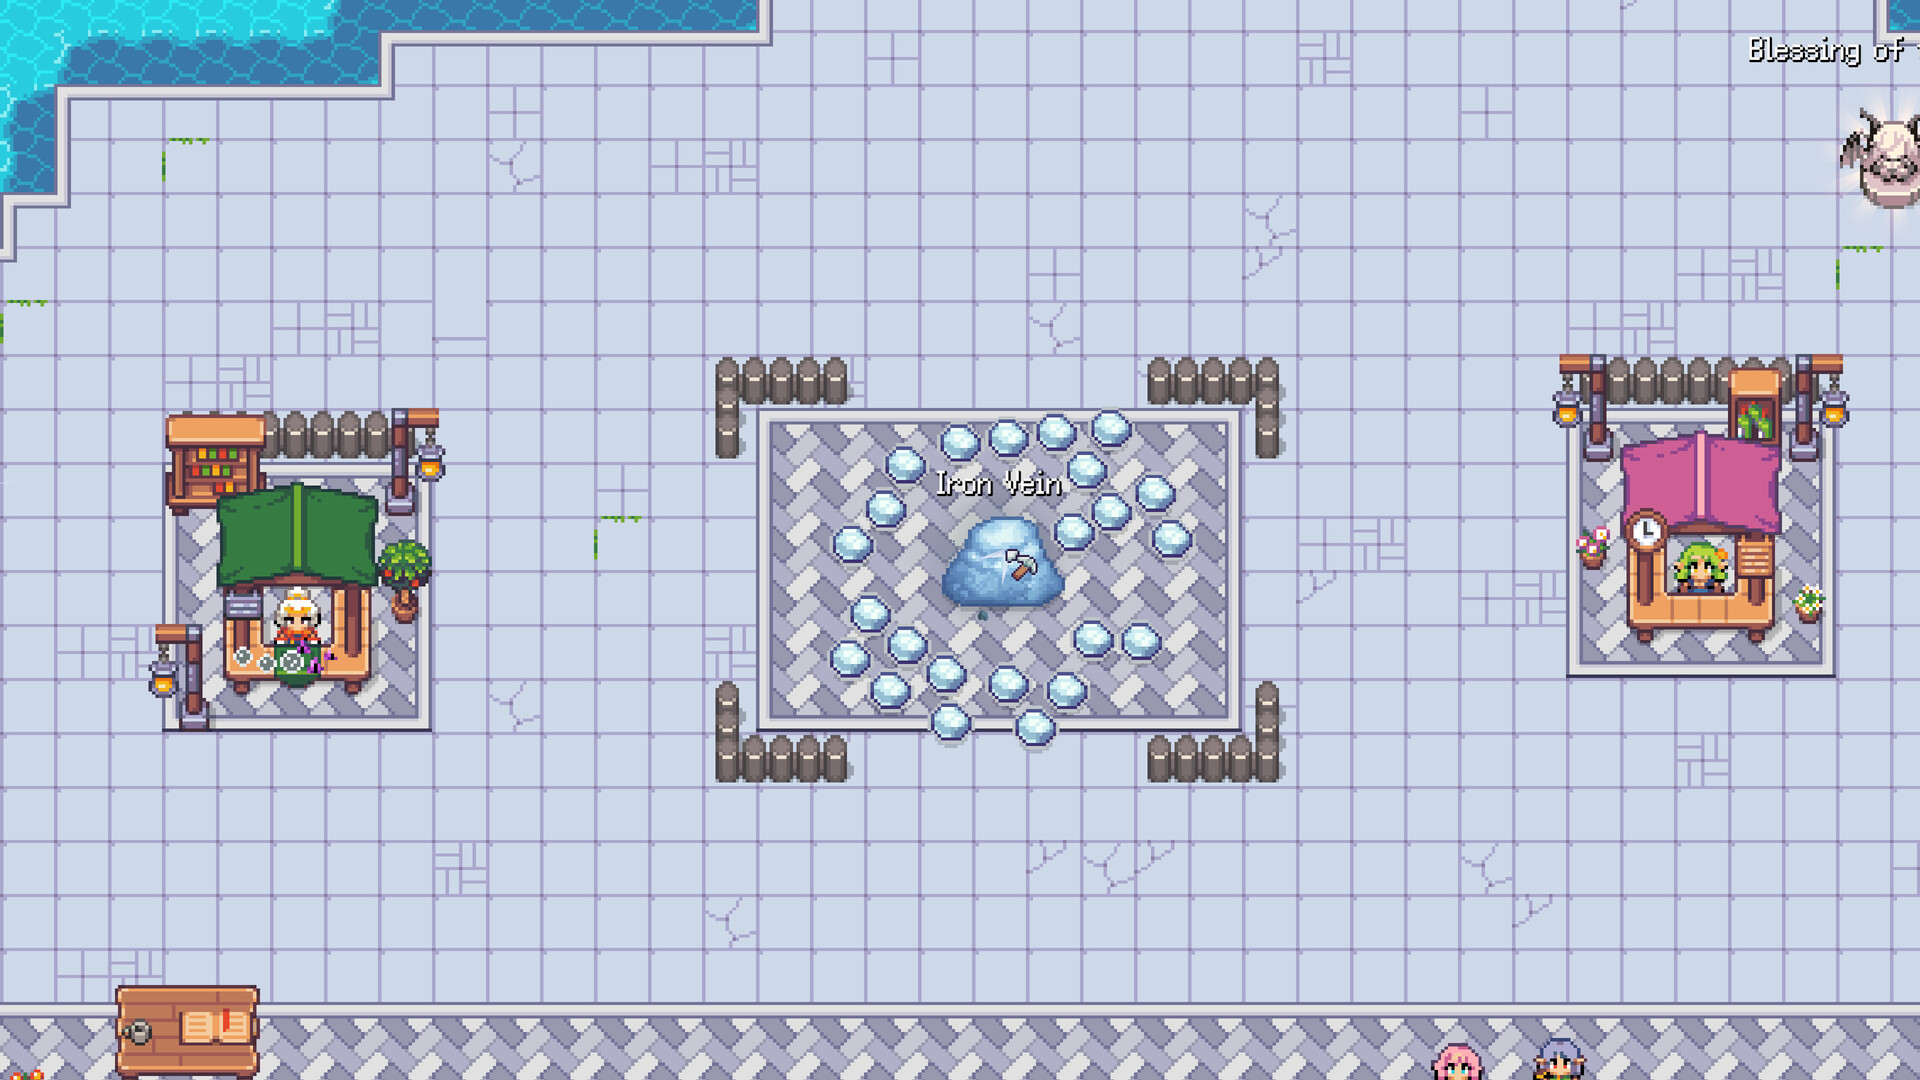
The early game builds tier list answers the question every new Suncraft player asks after the tutorial: should I build a second furnace, upgrade carry capacity, or rush skill tree automation first? This ranking covers the first hour of the July 28, 2026 release—when you are still hand-delivering coal, meeting Eric about soil minerals, and preparing for Ember to take over fuel duty.
These builds are not character classes. They are layouts and priority orders that pair with the Skill Priority page and the onboarding flow in Getting Started.
What “early game” means in Suncraft
Early game ends when all three conditions are true:
- Ember reliably fuels at least one furnace without your intervention.
- You have buffered storage (chests or organized piles) for planks, iron bars, and coal within ten seconds of smelters.
- A quest has asked for a second material tier—glass, steel, or processed quartz—not just logs and ore.
Until then, every minute spent walking empty inventory back to a tree line is a minute the Sunspire stays broken.
S tier builds
Dual furnace corridor with chest buffer
Place two furnaces side by side with a storage chest between them (once the skill tree unlocks chests) or temporary ground stacks before that. Feed coal into both from the same chest pile. Run iron ore on one furnace and reserve the second for plank-adjacent processing or alternating ore types when quests demand mixed bars.
Why S tier: Demo footage and playtest notes consistently show players crafting a second furnace around the time Eric discusses sifting soil minerals—roughly when ten planks, three iron bars, and five coal stop feeling optional. Parallel smelting doubles quest throughput without waiting on automation unlocks.
Pair this layout with Deep Pockets from Skill Priority so each gathering trip supplies both lines.
Automation-first lazy build
If your skill tree path reaches automation fueling before you afford a second furnace, prioritize Ember recruitment quests and automation nodes over raw damage. Single furnace plus automation beats dual furnace plus manual coal babysitting for players who log in briefly between cozy sessions.
This build feels slower in the first fifteen minutes and then jumps ahead when Ember goes live—exactly the incremental curve Spicy Tuna Games targeted in the skill tree revamp (Skill Tree Revamp).
A tier builds
Single furnace hypercarry
One furnace, maximum carry capacity, sprint unlocked early for map crossing. Viable when you have not yet found the coal vein layout or when building materials for furnace two would delay a main quest step.
Downside: You will revisit this layout before the cargo tram storyline, which expects planks, glass, and steel bars at scale. Transition to dual furnace or automation-first before that quest chain.
Damage multiplier rush build
Stack damage multiplier skills and tier-one tool upgrades before infrastructure. Speeds shard clearing and manual node tapping. A tier for players who enjoy active clicking and short sessions—but it falls off once machines outproduce hands.
Cross-reference Equipment Upgrades before investing quartz into tools you will replace after the equipment page redesign tiers.
B tier builds
Triple furnace pre-Ember spread
Spreading three furnaces across the village before Ember or automation works only with obsessive manual routing. Pretty on paper, miserable in practice. Rank B because coal starvation hits the farthest furnace first and sprint alone cannot fix timing.
Upgrade to S tier dual corridor once Ember can patrol a compact line.
Storage hoarder zero-smelt
Max chests and carry, zero furnace investment while stockpiling raw ore. Delays every villager quest that expects processed bars. Only B tier for sequence-break explorers—normal restoration pacing should smelt early and often using Crafting Recipes.
C tier builds
Random scatter layout
Furnaces, workbenches, and chests placed wherever the camera stopped. No shared coal pile, no Ember pathing clarity. Fix immediately—Suncraft rewards compact districts.
Ignore skill tree until mid-game
Hoarding unspent skill points feels safe but wastes automation that demo players called game-changing. Spend points; use Skill Tree guide if overwhelmed.
Carry capacity priority ranking
Within the first hour, rank carry upgrades in this order:
- Deep Pockets (or first carry node)—before second furnace if ore routes are far.
- Chest access—sort coal and bars at the smelt district.
- Sprint—when quests ping distant NPCs twice in one loop.
- Second furnace materials—ten planks, three iron bars, five coal is the classic demo checkpoint.
- Damage multiplier—when a node HP wall blocks a quest objective.
This order shifts if you choose automation-first over dual furnace—swap items two and four accordingly.
First-hour checklist tied to builds
| Minute block | S tier action | Avoid |
|---|---|---|
| 0–15 | Tutorial crafts, first skill point toward automation or carry | Selling all coal for pocket space |
| 15–30 | Meet quest NPCs, scout coal and iron | Building workbench far from trees |
| 30–45 | Second furnace or Ember quest push | Triple furnace spread |
| 45–60 | Chest buffer, iron bar stockpile for bridge or tram prep | Ignoring plank parallel production |
Transition to mid game
When glass and steel enter quest requirements, open Resource Chain Planner and shift from early builds to equipment tiers on Equipment Upgrades. Demo carryover players may enter the full release mid-loop—see Demo Carryover so you do not rebuild layouts that already work.
Launch week additions like coins and blueprint vendors from Full Release can bump automation-first even higher if blueprints reduce furnace material costs. Revisit this tier list after your first Steam patch note.
Frequently Asked Questions
Quick answers to the most common questions.
When should I build my second furnace?
When you can afford ten planks, three iron bars, and five coal without stalling an active villager quest—usually mid first hour. Dual smelting beats delaying for perfect automation.
Is one furnace enough for the demo ending?
Possible but slow. Most players feel friction before statue or tram quests. Full release content expects higher throughput—plan for two furnaces or strong Ember automation.
Carry capacity or automation first?
Carry first if ore and coal are far apart. Automation first if furnaces sit next to deposits and you are nearing Ember unlock.
Where should I place storage chests?
Between furnaces and on the path from Ember starting point to coal piles. Compact districts beat scattered storage.
Does controller play change build rankings?
Controller support in 1.0 helps movement and menus but does not change smelt math. Sprint and carry remain slightly more valuable on gamepad for long walks.
What build pairs best with demo save import?
Continue whatever layout you had if Ember and furnaces already work. Use carryover day to add missing chests and pick up new equipment tiers—not to wipe your district.